Saturday, 1 February 2020

Distractions pt3 - More Wallpaper

The wallpaper upstairs isn't coming off so easily.  This wall alone took hours. Lovely alternating layers of wallpaper, backing paper and gloss paint. There are 4-5 different designs here, depending on location. All brought together with a soupçon of patching where previous owners did some wiring (or plaster smashing).

And an electrical socket which has been painted, so it's permanently "on".

No change to the sewing corner this week. Although I did receive some parcels from Fabworks and Stoff & Stil. Maybe I should show off the contents.

K

Saturday, 25 January 2020

Distractions pt2 - Wallpaper

We need to strip all the wallpaper so I've borrowed the Family Steamer. Having not done wallpaper stripping before, I decided it would be good to practice on a wall that was going to be demolished by builders. The B&Q website said to score the paper and to start at the bottom. This was my progress after one diligent hour:

I gave up, and packed up to go to lunch. On my way out, I tugged a loose edge of wallpaper on a different wall and this happened:

"It just came off in my hands Guv!"

A quick visit to YouTube taught me a different method (start steaming at the top!), and most of the rest of the room came off just as easily. I can't believe the difference in progress and difficulty!

So now my sewing space looks like this:

K

Sunday, 19 January 2020

Distractions pt1

You may have noticed that I didn't post much last year. Life happened and I never really got around to shooting projects to show them in their best light for the blog. I did sew during 2019 and I have some amazing things to show you - but those posts will have to wait. Right now I'm not sewing much either. My current sewing space looks like this:


And my next sewing space looks like this:

You guessed it. B and I bought a fixer-upper and all of my spare energy is going towards moving us in. My current sewing space has become Tool Store #1, and my future sewing space is Tool Store #2. I don't think I will be sewing in the near future - but it's on the horizon.

Last time we moved house I completely stopped sewing for quite a while. I'm not surprised by the hiatus, but I need get through the bulk of the refurb/move before being ready to sew again.

I had plans for plenty of DIY flourishes in the new place, but almost all of them will probably get ditched in favour of a professional. If makery has taught me anything, it's to respect a competent/skilled tradesperson and value their work.

I will try to post updates here. This is not a renovation blog, but maybe you're interested in snooping my sewing spaces as we go along...?

K


Tuesday, 10 September 2019

Fast and Furious Projects

This is a quick rundown of recent projects which really don't merit their own posts. I've got a little bit to say about each of them but not really enough detail or images to justify a lot of effot.

Burda Stripe Cowls

You remember the Winston Jumper? Well I pulled together the scrap fabric to make a second one (with slightly different sleeves) following some slightly more normal proportions. This fabric is prone to stretch and creep out so I found the extra-long body and sleeves on the original Winston to be quite irritating. I ended up shortening them on the original too.


Full-length Leggings

This was more on experiment-cum-speed trial. Sometime during the autumn I decided that I hated the current capri length on ALL of my leggings and that full-length was the only real way togo. So I threw these together. They're a bit tall and the waistband isn't particularly snug but I'm not complaining. They're a fun change for dance practice.

I experimented a bit on the lower leg with seamlines. It may evolve for future makes but right now I'm overstocked on leggings.


Pop-Art dress revisited.

My mod dress has finally become too scanadlously short to wear. I added some fabric as a hem band and am hopingto get a few more wears out of it. I'm pleased I kep the spare fabric for so long - it is an absolute beauty. I've never seen anything else like it.

This is part of my attempts to alter/repair more. My Lizzie dress is also getting too short and I'm hoping to do a bit of surgery to make it longer - though there is absolutely no spare fabric for this one.


Gift Dresses

Way back in May 2018 I made some dresses for a friend as birthday gift. I copied some existing garments and hoped they would work nicely. One dress is made from Atelier Brunette Moonstone Viscose, the other is a ponte (?) from Girl Charlee UK. They arrived with the recipient just before the crazy heatwave. Hopefully it was easy to wear in the summer heat.

One of the interesting things about copying the garments for pattern pieces was making discoveries as the process developed. I started out thinking one skirt was a basic rectangle, but it had sneaky curves and shaping hidden in the seamlines!

Twist & Drape Shirt

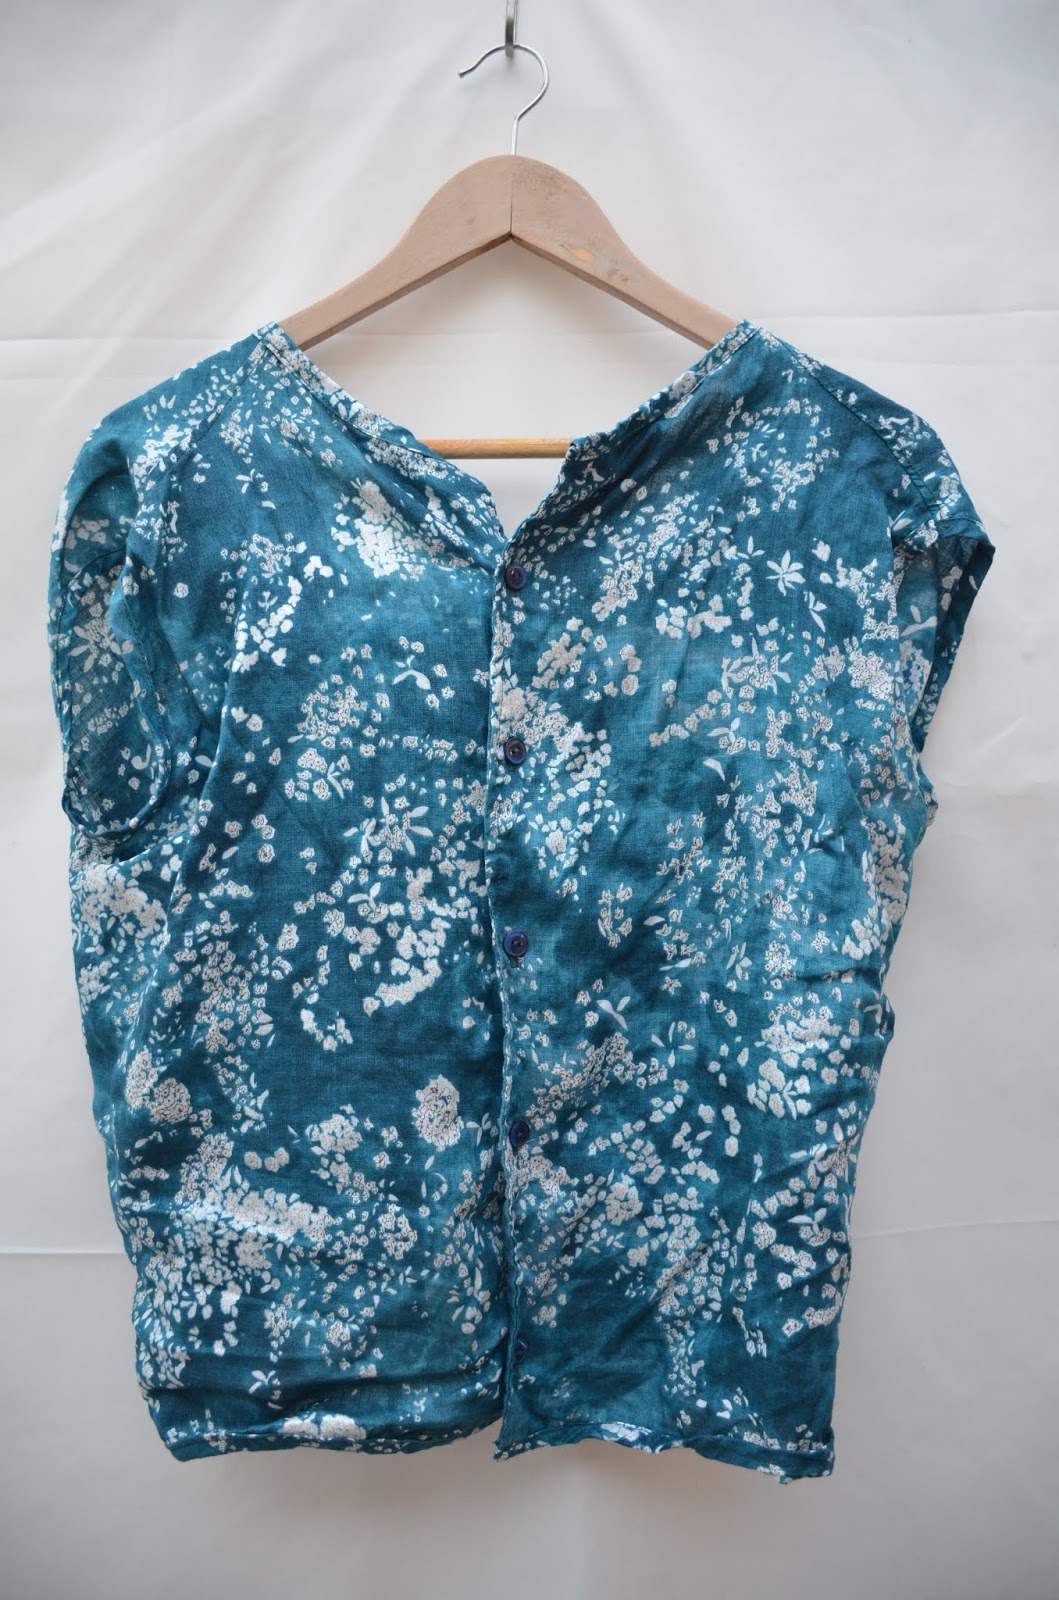
How many times have I made this pattern? Well, hopefully this time I haven't gotten it upside-down/inside out. I think it looks nice in this Nani Iro linen.


That being said, it sat unworn in my wardrobe for quite a while. I struggled to find something to wear with it, but it suddenly became a lot eaier once I tried out a few skirts and bought myself a navy cardigan.

Bye

Wednesday, 21 August 2019

The Zip Fly Controversy

Now, let's start with a disclaimer. I'm not that keen on drawing attention to someone else's crotch. This is not a post a draft lightly. But it is an issue that has been bugging me for months. And I think I finally found a perfect illustration thanks to Tilly and the Buttons.

So what's the issue that's got you all fired up, K?

When I started making trousers, I was so sure that every stitching line had to be as close to the centre front seam as possible. The fold of the overlap had to be at centre front, the topstitching had to be at centre front, the centre of the zip had to be at centre front.

So, on various pairs of trousers/jeans you (I) can see topstitching from the underlap, or (heaven forbid) the actual zipper tape.Because it's impossible for all of those things to occupy the centre front at the same time.

Recently I've been worrying if it's only me who has this problem. As if everyone else in the world can have perfect zippers and matching topstitching. And TATB, on their beautiful demo photo, show exactly the problem I have been moaning about to myself. Bless that pink stitching line.

Okay...so...?
If you're in the niche that cares about your you-made clothes looking as good as possible, you will care. That snazzy contrast topstitching won't draw attention where it has no place to be. That surprise coloured zip will remain a surprise. You will finally be able to fix that odd sense of draftiness where your zipper ends. Never again will you worry that it looks like your flies are open even when they're firmly closed.

I had been frustrated because I thought I'd gotten beyond the issue, until B's Quadra's started showing the same symptoms. I followed the instructions on the Quadra fly. I was prepared to come here and spout a load of rubbish about zip-fly conspiracies. I was ready todo a whole series on it. (We could call it The Zip Files...) but instead, I've checked some samples and my sewing books.

The DK Sewing Book - is an authroity on getting you started with a particular technique. Its lapped zip instructions warn that the folded bit of the underlap won't match the seam. It's not so clear on the zip fly instructions, and even assumes that these lines will be marked (has anyone ever seen that?).  In both cases, it's curious that it advises for the overlap to only meet the topstitching - not cover it/go beyond it. I think this is misleading.


David Page Coffin's book Making Trousers for Men & Women has a whole chapter on flies, but doesn't seem to go into this point in detail. Mind you, I find that this book does everything backwards anyway (definitely worth buying+reading if you're interested). But even the front cover sample boasts a massive underlap. No way is the topstitching showing through at the bottom of the zipper.


I checked out some RTW pairs and almost all of them had the underlap at least 1mm behind the seam line. You need to hide the zip, not just cover it up with the overlap.


For jeans in particular, where there was visible topstitching on the crotch seam, the underlap fold was at least as wide as the topstitching there. The line of topstitching on the underlap has the illusion of carrying straight on down on one of the lines of seam topstitching.

The pair below illustrates this very well, but was by far the smallest underlap. Most underlaps were about 1mm - 4mm away from the seam line.


Formal trousers, however - seemed to be much closer to zero underlap. Is this a feature of smaller zips or dress-weight fabric? I have no idea.


So I'm not sure what to say now. I was sure that there would be one "normal" answer and it doesn't look like there is. My top tips for getting a good looking fly are: 1) the fold line of the overlap shoud be at centre front and 2) the underlap should extend underneath the overlap so that everything is hidden.

K

Sunday, 21 July 2019

Do you wanna know how I got these scars?

Halloween rolled around and an invite to a party rolled in to B's inbox (or whatever the social media equivalent is). I don't get invited to parties, you see. But B gets quite a few! It's socially acceptable to have a costume for these kinds of gathering and he was searching his brain to find something quick and easy.

Suddenly the thought of a blazer he got for the 2017 office Christmas party popped into his mind. velvety and purple. Blue shirt? sure. We've got the makings of a Dark Knight Joker. But no green waistcoat. And the party's tonight!

Here's where Katrina jumps in. Custom green waistcoat fromscratch in a couple of hours? Well, I had no other plans for the day. Best get the fabric scissors out.


The Pattern

I hacked the Thread Theory Newcastle (M) for this. There was lots of "fit as you go" and I did make a muslin, but it was always a slapdash job. I redrafted the neckline, but with hindsight should have done so differently. It sits very wide on B's shoulders and communicates more "style" than "classic".  In fairness, I think I fell in to a common trap.

I used the pattern because it was already printed and in the right ballpark. In future I'd like to use an actual pattern and some proper design details. Thread Theory has the Belvedere waistcoat, doesn't it?

The Fabric

All scraps, which is partly why I was keen to volunteer for the waistcoat. The green is a baby cord from Edinburgh Fabrics, leftover from some trousers. The oriental fabric is an old gift and most of it lives on the inside of my molly waistcost. The plain blue came from my JP trip, though I'm not sure if I've used it before. It was good to dig all of this out of my stash.

I can't decide if I got the oriental pattern upside-down. I was sure I was right when cutting out, but now it looks like the fans are the wrong way up - perhaps they're not supposed to tumble down?

Construction

All of the construction was fast and dirty really. I added slits to the seams to allow a bit of costume flexibility. The buttons came from B's stash. I think it turned out pretty nicely for 4 hours of work (though I bet Patrick and Esme would say otherwise)

Bye.

Tuesday, 9 April 2019

Shirts. Just Shirts.

Until autumn 2018 I had about 5-6 work shirts in heavy rotation, but they've been beginning to look a bit tired. I had to get rid of one as the fabric had completely worn out across the back. Still, after 10 years of use, I was pretty pleased with its shelf life.

I've been feeling an itch for some new work shirts in my life for a while too, so it was good to finally make some. In fact, I've been planning this for so long, the fabrics were all pulled from stash and I basically had buttons already available for the most part. I made 2 desgns and will talk about each in turn.

Tailored shirts: Charles Tyrwhitt RTW Copy

I've had a crisp, white tailored shirt from Charles Tywhitt since my first attempts at joining the labour market. I thought it was the most beautiful and elegant item of officewear imagineable. Other people probably didn't think so.

Back in 2015 when I was on a RTW-copying binge I took this shirt from my wardrobe, covered it in Frixion pen and tried to take a pattern. All things considered, it went pretty well but the shirt stayed stuffed in a bag for 12 months and the pattern didn't progress beyond rough drafts.

I finally brought the shirt back in to service but it was no longer the apple of my eye. The fit is not as exquisite as I would like, it's cut incredibly high into my armpits and struggles to remain tucked in if my trousers are below my natural waist.

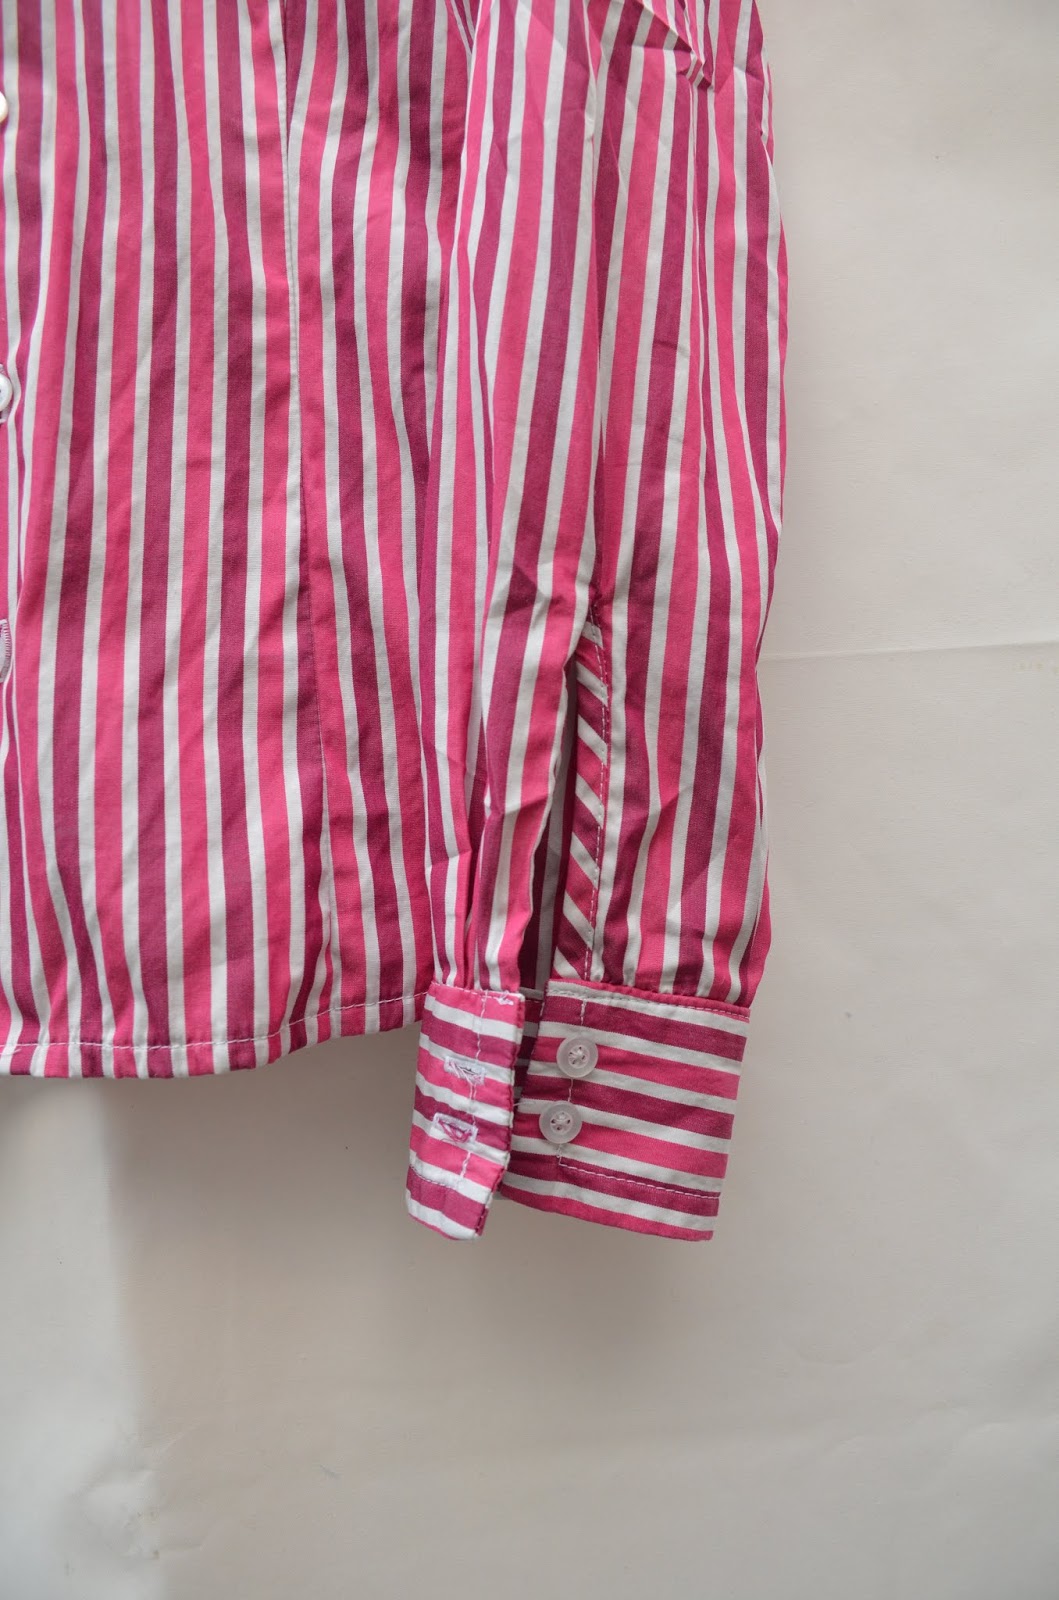
But still I had the undeveloped pattern. This was the last project to clear from my crazy 2015 backlog and I had to see it through. I trued the pattern as much as possible and sewed it up. Now I have a new bold pink shirt and a new ubiquitous blue stripe one.


The pink fabric was a gift many moons ago. It came from Truro Fabrics or Stone Fabrics, I can't remember which. The interfacing was from William Gee. This was my first time using their K10 product and it's not quite what I'm used to. I need to spend a bit more time working with it to get best results.

So let's talk about construction. Despite trueing this as much as possible, there were still a few tricky bits where it wasn't perfect. Because I wasn't prepared to iterate this until it was right, I decided I was happy to live with it. This gave me some problems during construction, but I tried to make it work so the final thing would look okay. For example, the collar stand and collar weren't quite symmetrical and it's very easy to be bothered by the pink stripes if they don't look even. It's less of an issue on the blue shirt, so that one has fewer "corrections".

One detail I love is the bias binding on the sleeve slit. This is a detail I copied from the original and it's so fun! It looks like a candy stripe! Those of you who know me will know that I always roll up my shirt sleeves, so why even bother adding proper cuffs?? I have no idea. Maybe that bit just had to be right.


So these are in heavy rotation now. It's an uncontroversial design and it's basically passing in the office without comment.

McCall's 7360: Grandad Collars Galore

I've fallen out of love with the Wiksten Tova and have been searching for a replacement grandad/mandarin collar shirt. I think I was also keen during 2018 to push the Moira Skirt into circulation, and I thought it would work well with grandad collar shirts. The McCall's pattern fits the bill and popped up at just the right time.

It has been a while since my last tissue pattern. The size chart indicated an 8 at the bust, and 12 at the hips, but after checking the finished garment measurements I made a straight 6.


I like the pattern generally but it has a couple of weird details that I don't like. Firstly the bust darts are a bit too high, but the design is so loose and I'm so flat chested that it doesn't really matter. The shoulder seams sit slightly forwards, typical of shirts with yokes, but they sit quite close to my natural shoulder line, so I wonder if it's just pulling backwards. If I make this again, I may move the darts down a bit so it looks correct.

The main thing that bugs me is the two-piece full length sleeve. It looks like the only reason why this sleeve is in two pieces is to avoid cutting a slit for the cuff. You just leave a gap in the seam! The instructions say to to use the leftover seam allowance from this area to make a tiny hem. I guess this would work but it feels a bit funny to add a whole seam there just to provide some seam allowance to finish. You know I'm not very good at following the instructions so I used bias binding on the sleeve slits, like on the tailored shirts.


As always there was a lot of hand sewing in the instructions so I tried to find a majority machine finish too.

The fabric is linen for both shirts. I really lik the rumply-linen look for this style. It helps to mitigate some of the visual impact of a loose style on someone with my frame. I enjoy sewing with linen but rarely like the finished project as soon as it's done. Linen projects always look better after their first wash, so it's important to be patient during those first few wears.

The striped linen is pretty heavy and comes from Momo during my Tokyo shopping trip. It always reminded me of baseball, but I can't remember the original plan for it. The plain linen, I don't remember. It has been in my stash for a while. Perhas it came from Goldhawk Road, maybe around the same time as the blue stripes for the tailored shirt above. Both of them are neutral so I can get away with wearing them with almost anything.


The buttons are a bit more "happy go lucky" than the buttons for the tailored shirts. I really didn't want to go out and find new ones for these shirts so I tried a few from the stash. I had enough little pink ones for the centre front bit of the plain shirt, but not enough for the cuffs. I used some spare hammer-in snaps, but I doubt anyone will notice. The beep blue buttons are a lot heavier, leftover from the fluffy Newcastle. They tread a very fine line between 'tailor's window chic' and clown-ly. As always, if you wear it with confidence it won't matter.


So that's it for 4 new shirts. They're in rotation and I expect they'll see me through for quite a while.

Bye