You might not know this but I have a variety of seating in my life. Each item fills a different purpose and, broadly, each one overlaps with another one a little bit: tall stool, short stool, deck chair, dining chair, camping chair etc. But, since lockdown and since moving in, I have been struggling with not having a real office chair to sit in for work.
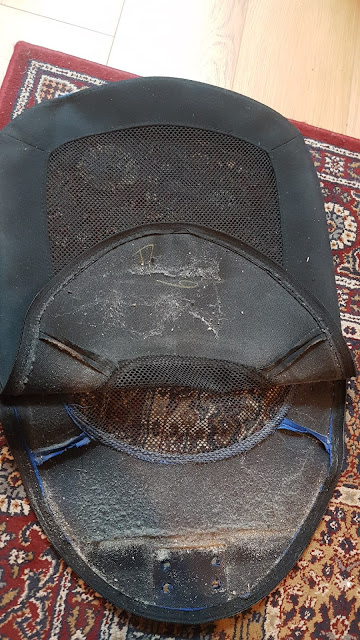
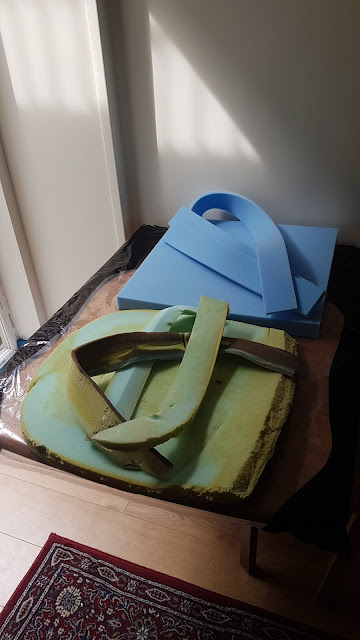
B invested in a new chair for his desk, so I took over his Ikea Flintan. As soon as I got my hands on the Flintan, I tore it apart. This chair has been sat on for hundreds, maybe thousands, of hours. It needed new foam and new fabric before I was prepared to sit on it.
Also, the inside of the mesh back was filthy.
FYI, the staples for the seat upholstery did not come out. I used a knife blade to cut around each staple.
I ordered new foam off the web (luxury firm), new fabric, new interfacing and a new zip. In the end, I reused the existing zip and used interfacing from my stash. It turns out I can't identify interfacing online at all and bought the wrong thing, and the new zip was a bit too chunky.
The back is interfaced but the seat is not. I am fairly sure the original fabric is a cordura, but the website I was buying from offered it in different deniers and I had no clue what a sensible number was. I bought 1000dn, but this seems like overkill now. I could wear sandpaper trousers for a year and the seat wouldn't care.
Anyway, I seam ripped the existing chair and used the pieces as a pattern. I used upholstery thread to stitch and topstitch.
For the back support band you can see between the mesh pieces, I discovered that it is simply looped between two "hooks" which are held in place with screws. This was a relief because I didn't need to work out how to manouvre the metal frame around the sewing machine! This piece was 2x bits of seat fabric with a plastic sheet in the middle. It wasn't very rigid so I upgraded it with a piece of buckram leftover from millinery class. FYI, I really like this stiffener - for certain purposes.
Also, since we're still in "box chaos mode" and I can't find most of my makery equipment, B kindly lent me his scissors for cutting and his fancy computer parts for pattern weights.
Overall, I'm pleased with how this turned out, especially the seat. I should have re-inserted the mesh back because there were some puckers but it doesn't affect the functionality of the chair, so I don't really care.
Did I spend as much on this revamp as buying a new Flintan? Yes, easily. About £100-£110. The foam was cheap, but the postage was not, the fabric came from Germany and I bought new threads etc. I could've cut the cost down to about £50 by not ordering the stuff I didn't end up using and by switching to a lower denier cordura. I could have cleaned and reused the seat back easily, but the seat fabric was badly damaged when I removed it, so it would need replacing. Replacing the foam was essential as we could feel the hardware though the seat.
I do want to say that the Flintann chair has good bones and is simple enough to re-upholster. Seriously, I think plenty of novice DIY-ers could do this, or find good alternative methods to replace what they need without completely replacing the chair. The base, seat and frame are all durable and I'd hate to see this go to landfill. I'm looking forward to getting a few more years of use out of this!
K x


No comments:
Post a Comment