 |
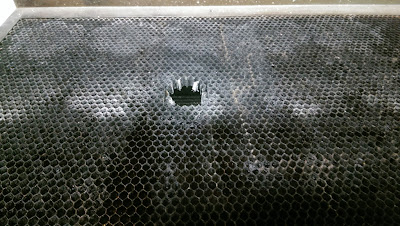
| Not my fire damage, not my problem! |
A quick pre-script note: there's not really any sewing in this post. I've not yet put any textiles under the laser, though it is on my list. I may also use the technology to cut/etch buttons or prepare designs for screen printing in the future. Not right now.
Principles of Using a Laser Cutter
The setup I have access to is like an elaborate printer. I have an image/design on a computer and send it to print, a print preview-style programme launches and I use it to set power, speed, depth and check focus/alignment. Fire up the cutter, do the important safety things and press go.If you're lucky, it'll be quick and will look awesome. Normally it'll be slow any may look a bit burnt around the edges. Enter the importance of tweaking.
The first step was learning to draw something that the cutter would understand. Inkscape and Youtube are your best tools, closely followed by Google for specific queries. Anything talking about drawing for CNCs will also be relevant.
Now, our machines cut from CorelDraw, not from Inkscape. I learned Inkscape because it was free and open soruce. No really urgent need to get Corel because the computer linked to the laser cutter had it.
After drawing I needed to spend some time in Corel making something properly print approrpriate. I was flummoxed by a few unexpected results when going from Inkscape to CorelDraw for laser cutting. The notes below are mostly for my own benefit, but hopefully they'll prove useful to someone else.
- CorelDraw won't import my InkScape SVG correctly. Try saving and importing as a plain SVG. Otherwise try the usual on/off approach to fixing technology. Still stuck? Not sure, try something else!
- My imported file looks a bit crazy compared to the original. Man up, unlock, ungroup and fix it.
- My image is rastering when I thought I'd done all of the vector stuff properly. Aha, there are 4 solutions to this:
- Check all your curves are no fill, with stroke as hairline thickness
- Check CorelDraw's primary colour mode for this document. The cutter is RGB, Corel's default is usually CMYK. You can fix this in the Options menus (ctrl+j or Tools>Options)
- Something screwy happened, maybe during the import process. Create a new CorelDraw document (in RGB) and just copy+paste objects to the new document
- Check all the vector paths are ungrouped and combined. For some reason this makes the curves less confusing for the cutter.
- I drew everything in black, what colours am I supposed to use? Reds = vector cut; Blues = vector etch; Greens = raster etch.
Project 1: Laser Ply Puzzle Cubes
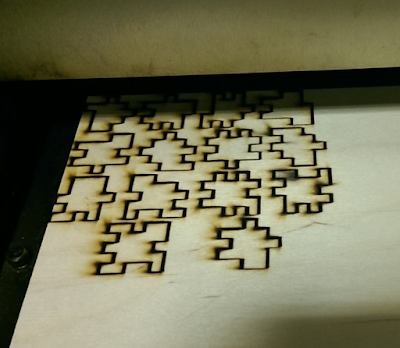
Cuboid. I've had some generic puzzle cubes in 8mm foam for a very long time. I drew some new pieces in Inkscape (admittedly with a lot of help from this puzzle solving software)
Project 2: Laser Cut Festive Paper Snowflakes
The first one I drew freehand, and actually was one of the best to cut in a range of sizes. For all other designs, I took a segment of a shape, then mirrored/rotated it 6 or 12 times. It was when I was first learning about adding and moving nodes.
When I was making these, another hackspace member approached and said "you know you can fold paper and cut these out by hand, right?". Cheeky bugger.
Project 3: Custom Tap Leathers
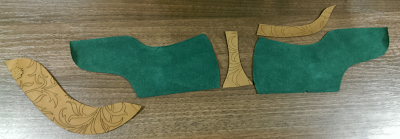
I traced the pattern pieces by hand to get a digital copy into the computer. I trialed various designs and print placements - using the trace bitmap feature to get a basic line drawing. Most of my time on this was spent refining the prints/designs - there were about 7 I was keen on so wanted to try them all on the pattern piece for practice.
This was the first project where I had to align the cutter with a target. I etched the pattern pieces on to paper taped to the bed, then taped down the pieces in the correct positions. I varied the power, speed and amount of masking tape over several passes to get things looking clean.
Oh, and this smells like popcorn straight out of the machine!
So that's that. What's next?
K


WOW! hey go girl!
ReplyDelete